
Google OIDC Setup: these instructions are largely based on OpenID Identity Connect
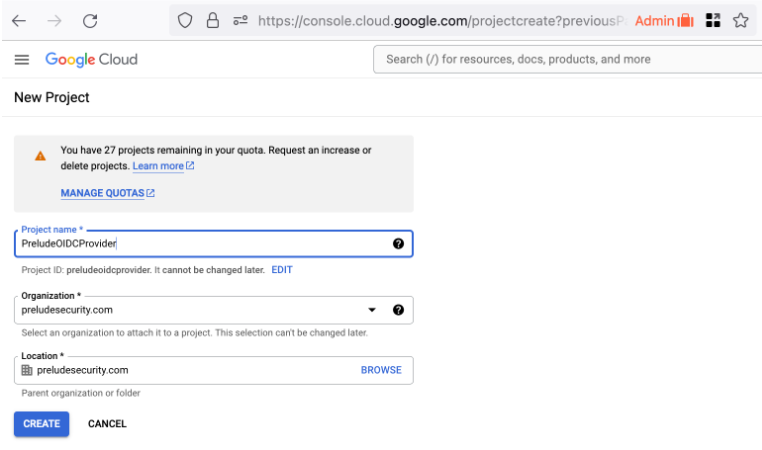
Create a new project
- Create a new Project as part of your organization. The example project will be PreludeOIDCProvider part of the Prelude Security organization.

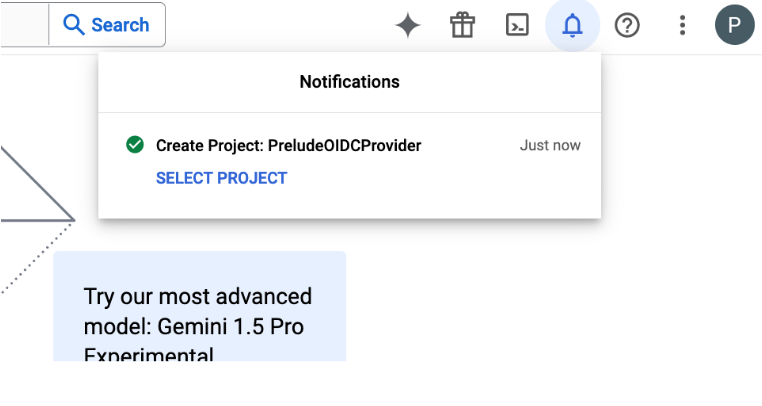
- Your project may take a few minutes to create, but you will get a notification. Select the project to move on.
Create a Consent Screen
Before you can create credentials, you need to create a consent screen. This screen is shown to a Detect user when they first log in using OIDC. They have to consent to have their identity shared with Prelude.
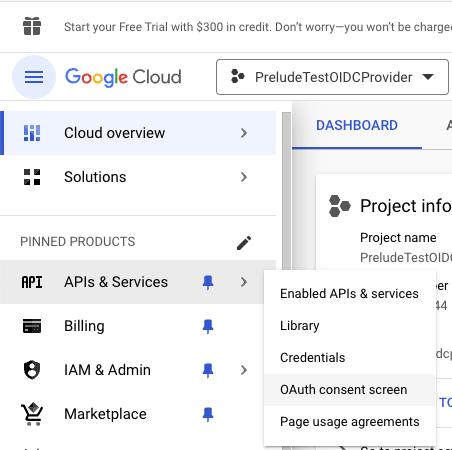
Select "APIs & Services" then "OAuth consent screen" from the left menu
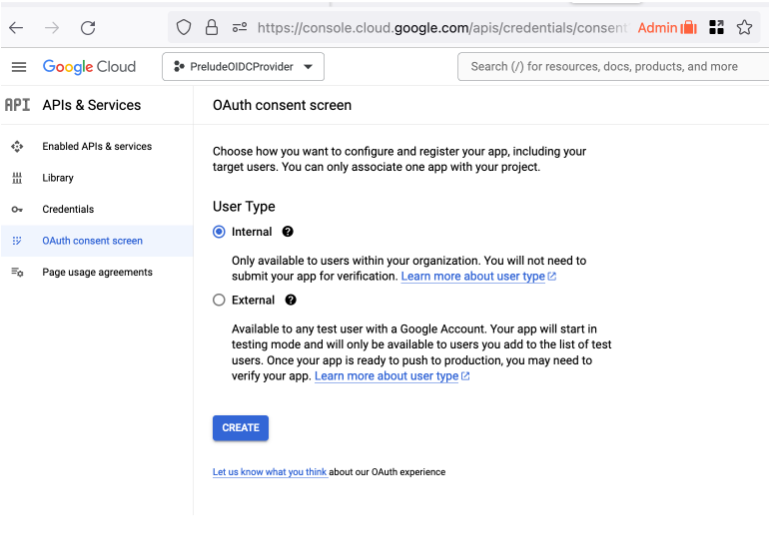
Create a new internal Application
Select the "Internal" type.
Configure some app domains and points of contact
Next fill in the appropriate values for the app registration. The important values here:
- Links back to the preludesecurity.com website for information on privacy and security: https://www.preludesecurity.com
- Authorized domain: preludesecurity.com (who is allowed to initiate the login flow)
- Developer Contact Info: [email protected] (a support contact in your organization for helping users with login issues)
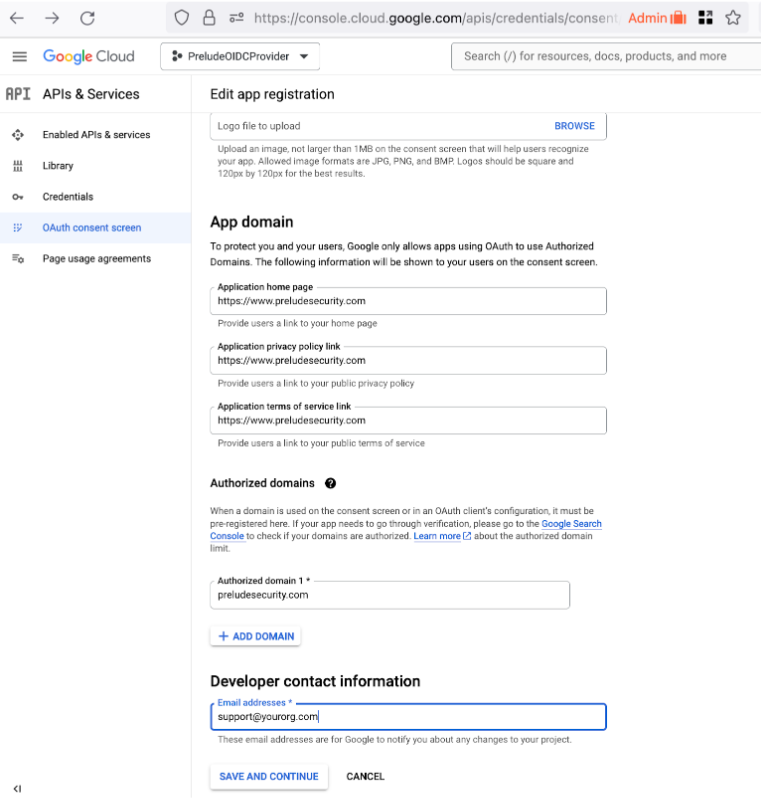
You do not need to add additional Scopes
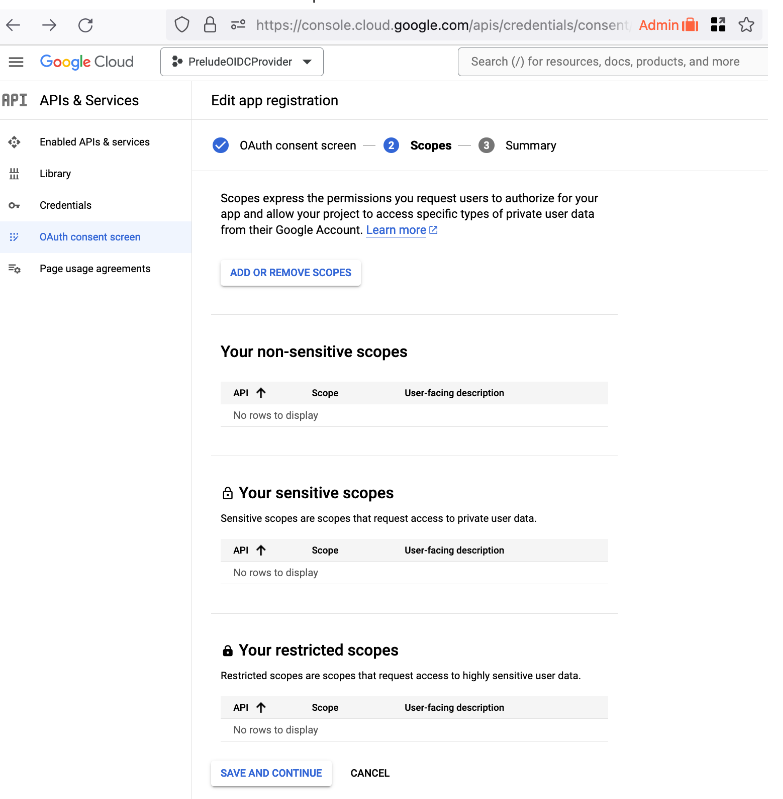
- Once you hit save and continue, you are done creating your application’s consent screen.
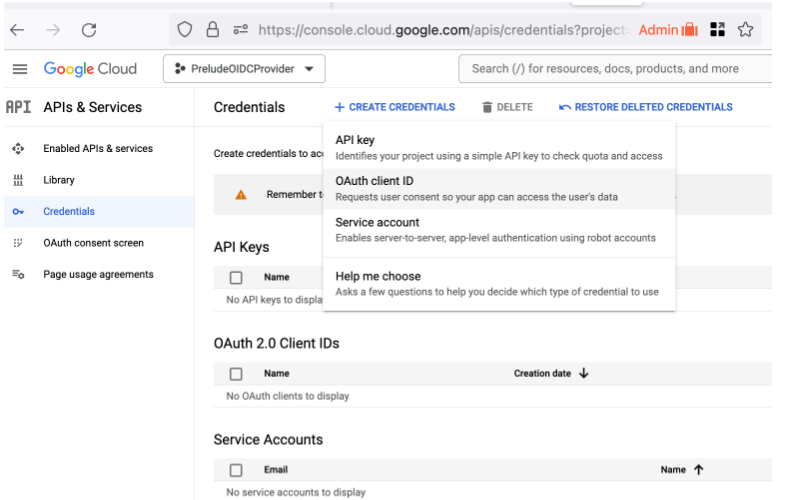
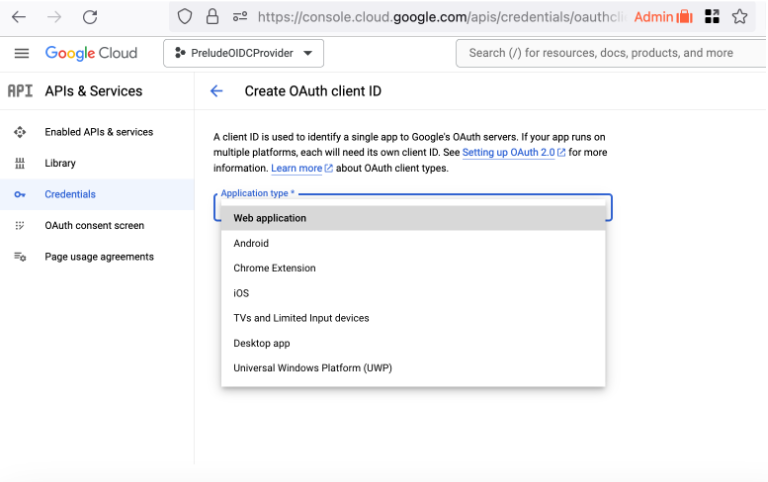
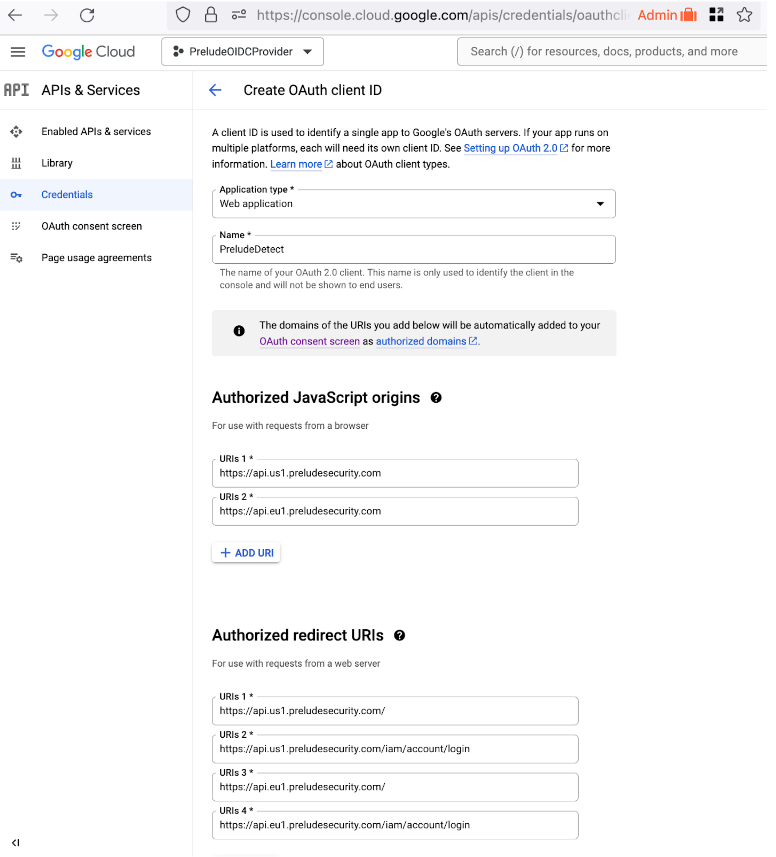
Create Oauth Client ID
Type: Web Application
Name the client and Authorize some URLs to be OIDC clients
Important values:
- Name: PreludeDetect (You can customize this as you see fit)
- Authorized Javascript Origins
- https://api.us1.preludesecurity.com (us1 users)
- https://api.eu1.preludesecurity.com (eu1 users)
- Authorized redirect URIs
- https://api.us1.preludesecurity.com (us1 users)
- https://api.us1.preludesecurity.com/iam/account/login (us1 users)
- https://api.eu1.preludesecurity.com (eu1 users)
- https://api.eu1.preludesecurity.com/iam/account/login (eu1 users)
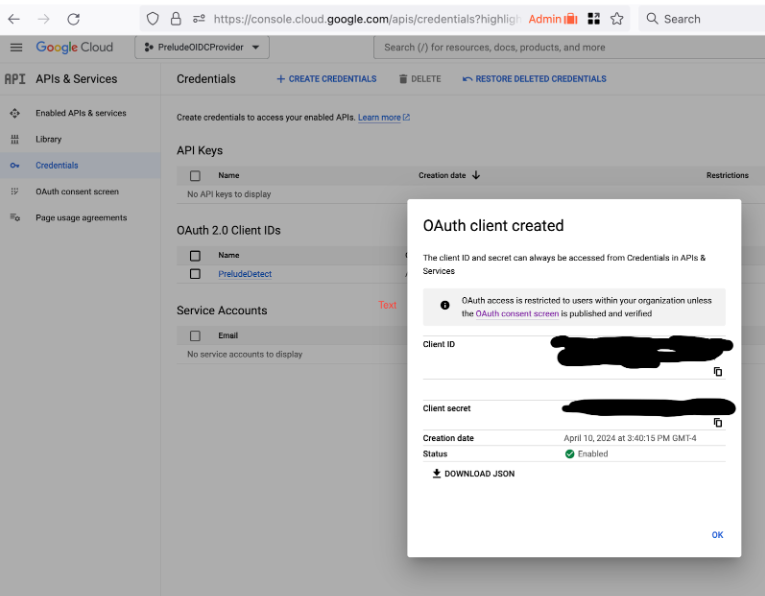
Create Credentials
These credentials will be imported into PreludeDetect to identify it as an OIDC client for your application.
Google Configuration URL
While you are done configuring the google side of OIDC, when adding this to Prelude you will be asked for your:
- Client Id
- Client Secret
- Configuration Url (this should always end in .well-known/openid-configuration)
- this will be
https://accounts.google.com/.well-known/openid-configuration
- this will be
Updated 7 months ago